What you need
- 7/8 sheets of A4 paper
- Pencil
- Scissors
- A Ruler
- Glue
- Colour pencils/markers/
- Tape
Step 1 - Make the headband and headdress base
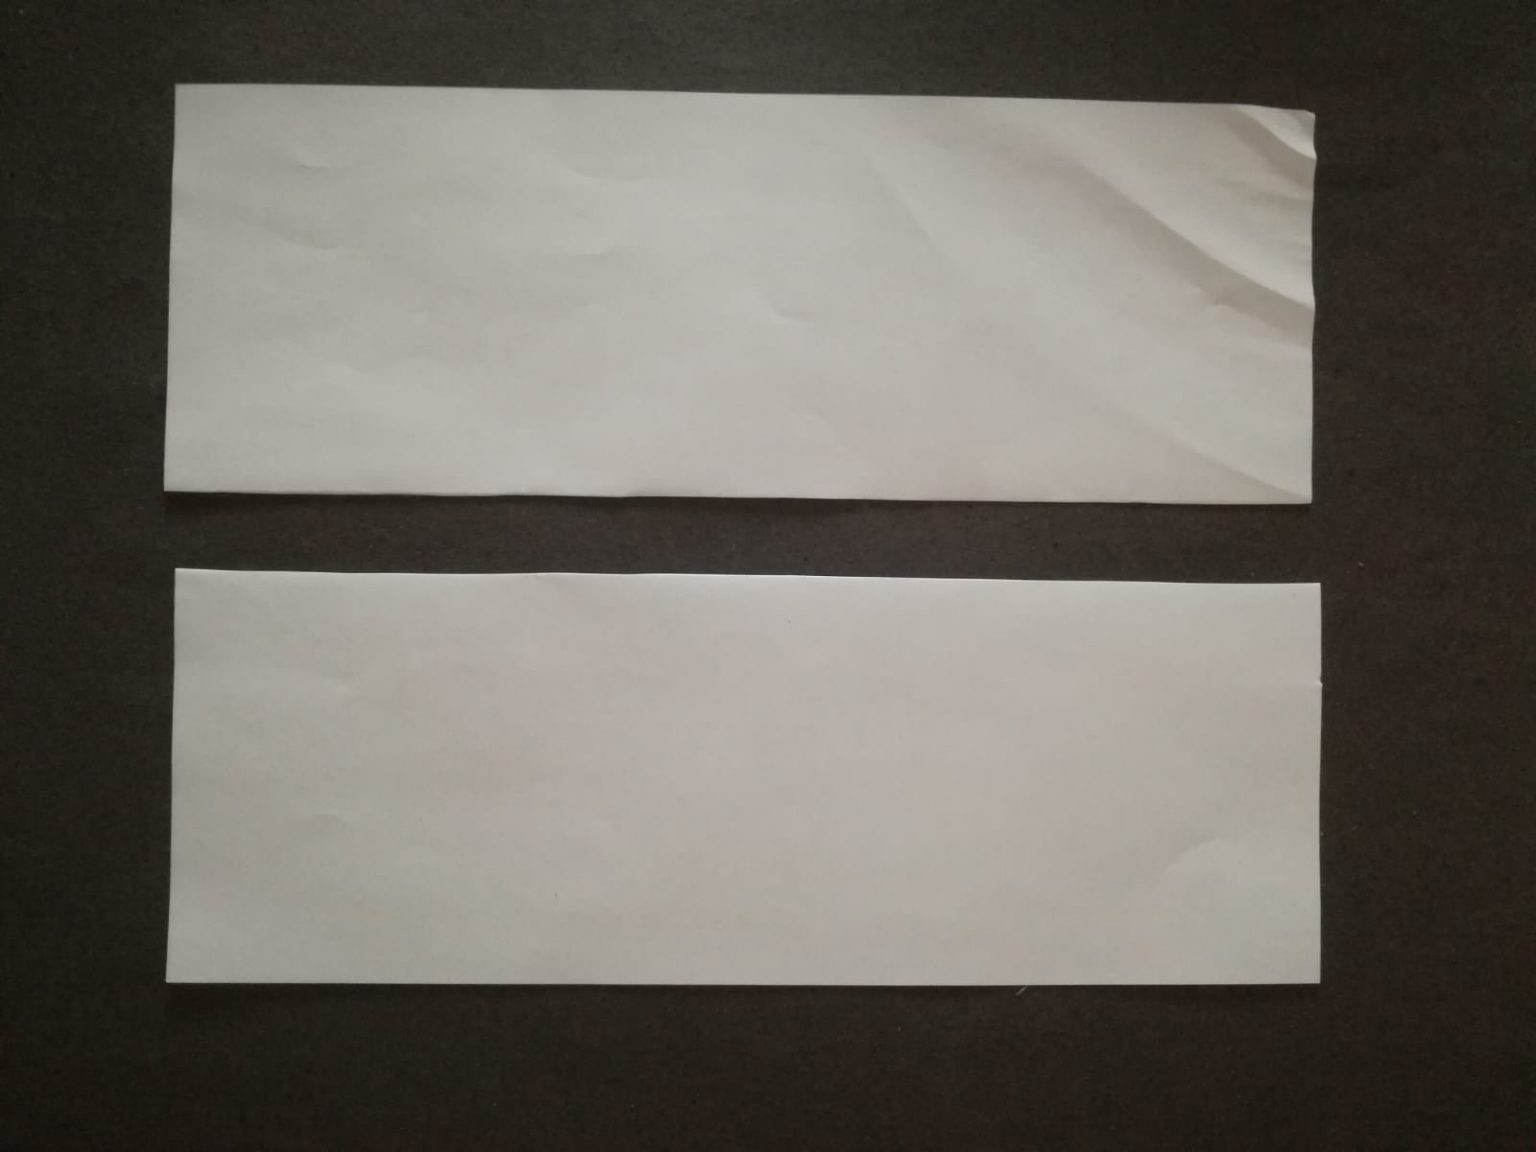
1. Draw and cut x2 15cm wide strip, horizontally, on 2 sheets of A4 paper. Glue the two strips together with a 2cm overlap to make a long strip like the image below. This is the headband, put the strip around your head to see if it fits. You may need to add another strip if it doesn’t fit.


Step 2- Making the Decorations
2. On a full sheet of A4 paper (vertically) draw, colour and cut a pagoda (a traditional Chinese building). You can copy the one in the image below or design your own one. You will need three pagodas in total. Keep aside.


3. Using the off cuts, draw, colour and cut 6 different cloud shapes. Keep aside


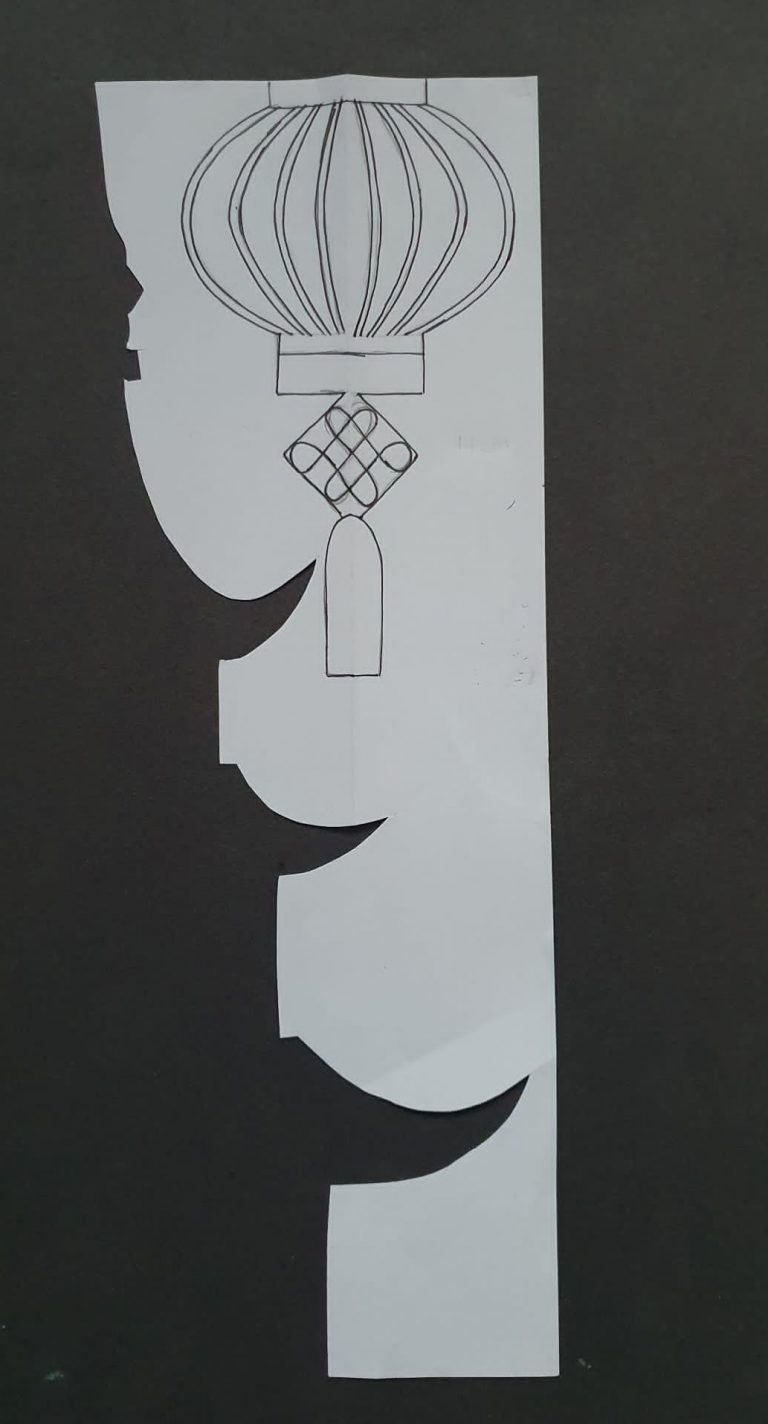
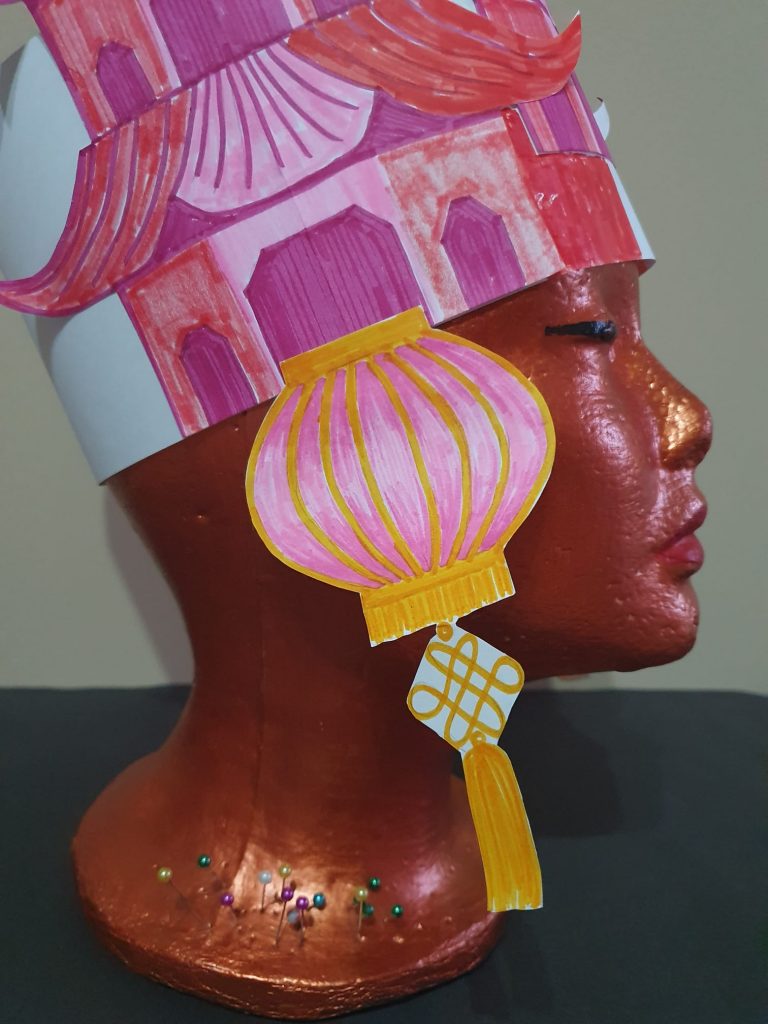
4. Using some more off cuts draw, colour and cut two Chinese lanterns. Keep aside.


5. Draw a tiger head roughly around 15cm x 15cm. You can copy the image below. Once drawn colour and cut it out. Keep aside.


Step 3- Assembling the headdress
6. Get your three pagodas glue one in the middle 3.5cm above the bottom of your headband.

7. Glue one on either side of the middle pagoda but this time glue it so the bottom of the pagoda is in line with the bottom of the headband.


8. Glue the lanterns on either side of the headdress.


9. Glue the clouds around the tiger head. Make sure you do not glue any on the bottom otherwise you won’t be able to see when you put your headdress on!

10. Glue the tiger and clouds on the bottom center of the headdress.


WELL DONE!

CHINESE TIGER HEADDRESS
HOPE YOU HAD FUN CREATING YOUR OWN CHINESE TIGER HEADDRESS
You can add something shiny to the Chinese Tiger headdress to make it more creative and sparkly.
We would love to see your fantastic creations so please share your pictures with us on social media @mahoganycarnival.
Thank you for using our template. We hope you enjoyed making your Chinese Tiger and we look forward to seeing you on our next creative making carnival workshop.


