What you need
What you need to make a Hanukkah Headdress
- 7 sheets of A4 paper
- Pencil
- Scissors
- A Ruler
- Glue
- Colour pencils/markers/
- Tape
- Straw
Step 1 - Making the headband and headdress base
1. Cut a sheet of A4 paper in half, horizontally, and glue together with a 2cm overlap to make a long strip like in the image below. This is the headband. Put the strip around your head to see if it will fits. You may need to add another piece of paper if it does not go all the way round.


Step 2 - Drawing and Colour the Menorah
2. Glue 2 sheets of A4 paper together so you have a thicker sheet. Fold it in half vertically. Now draw half a cup like shape, this will be the Menorah. You can copy the menorah in the image below or design your own one. You can also choose to cut the middle gaps or keep it on one piece.

3. Once you are happy with you shape colour the Menorah both sides.
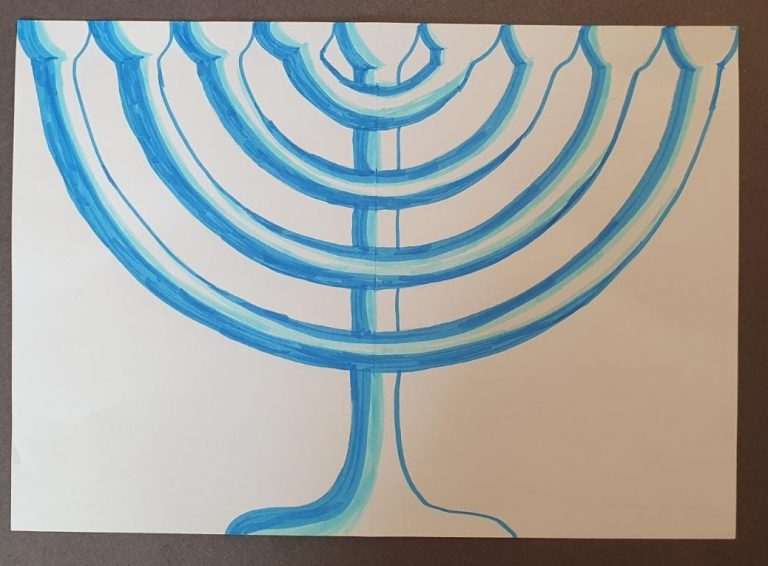
4. Cut out the Menorah
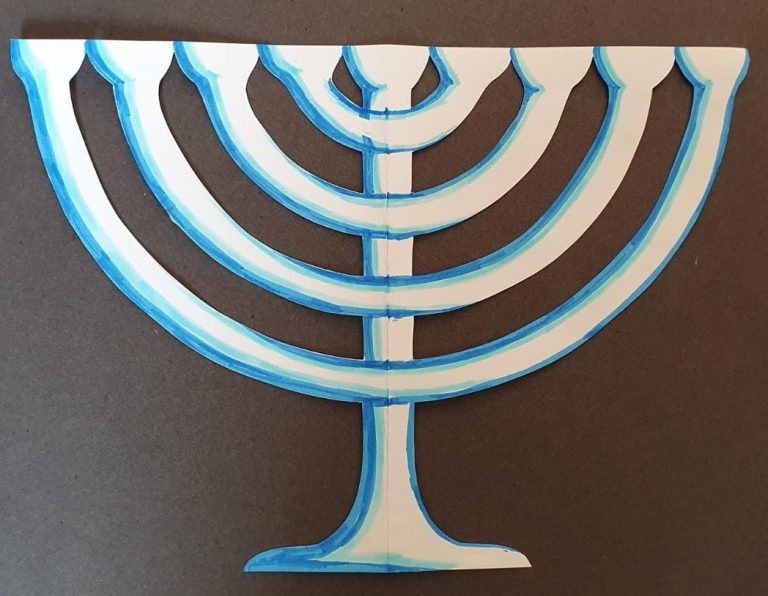
Step 3- Arranging the flames and stars on Headdress
5. On another sheet of paper draw 8 flames and 1 bigger flame. You can choose to make your flames two layers by making smaller flames to go on top or you can make them one layer.
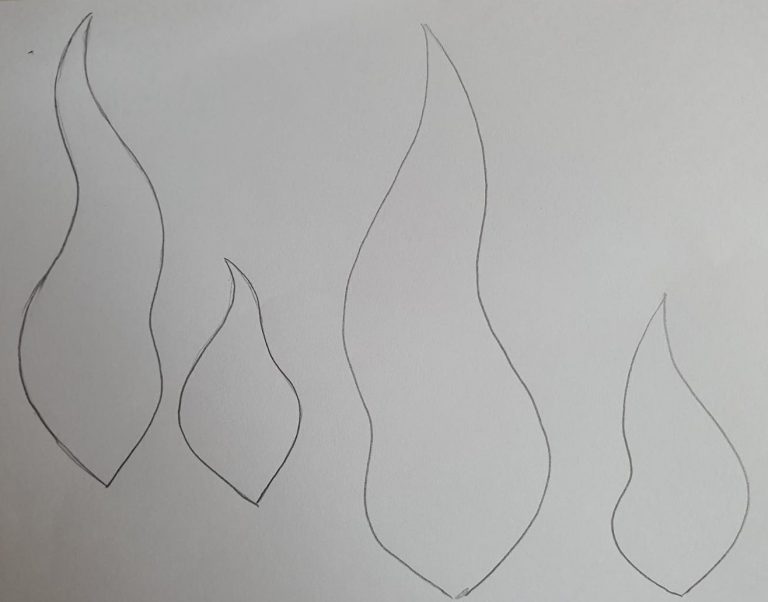
6. Colour your flames both sides, then cut them all out. If you decided to make your flames with two layers then glue the layers together.

7. Fold the flames in the middle following the shape. Glue the flames on the top of the Menorah. Keep aside.
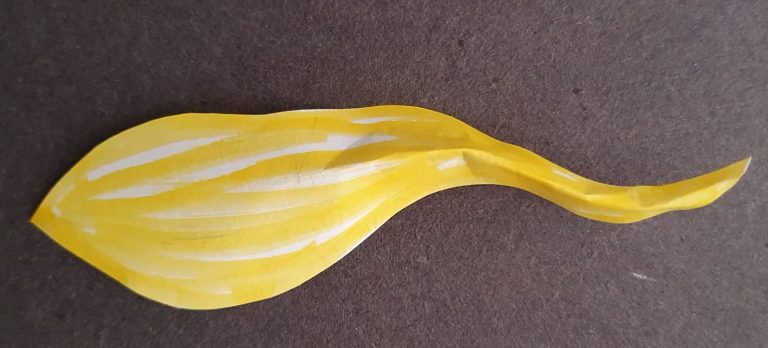
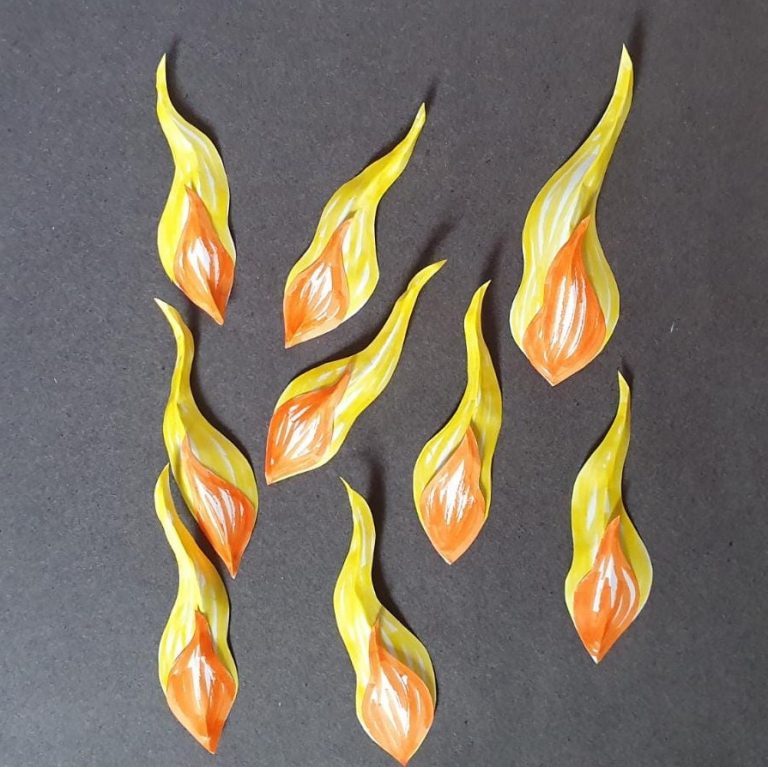
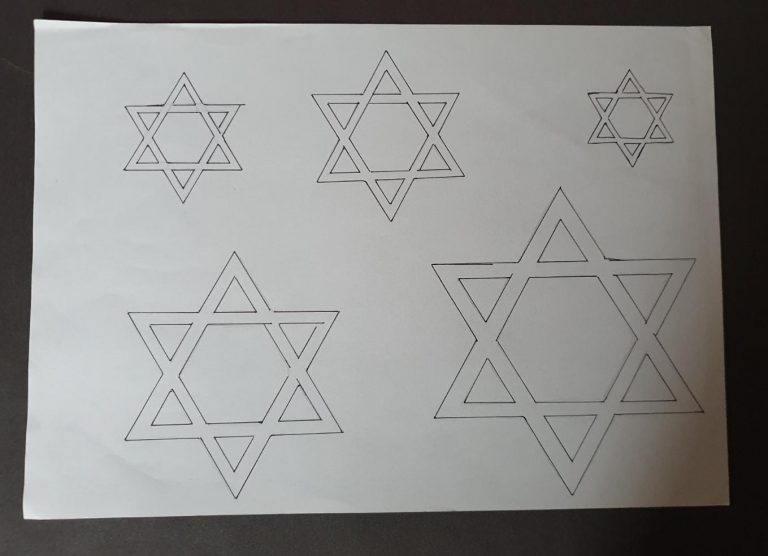
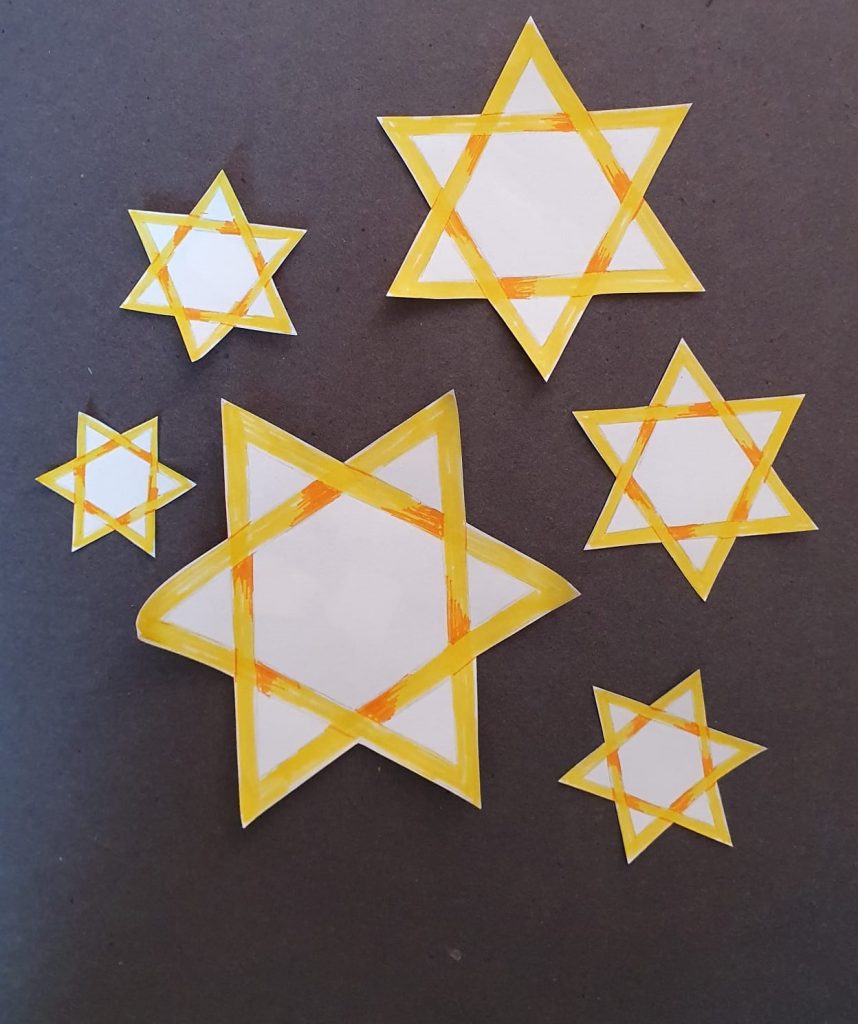
8. Draw, colour and cut different sizes of Star of David. Keep aside..
Step 4- Draw and cut the Dove piece
9. Draw a dove with a olive branch in its beak. Draw the wings separately. You can choose to make another layer for the wing or leave it as one.
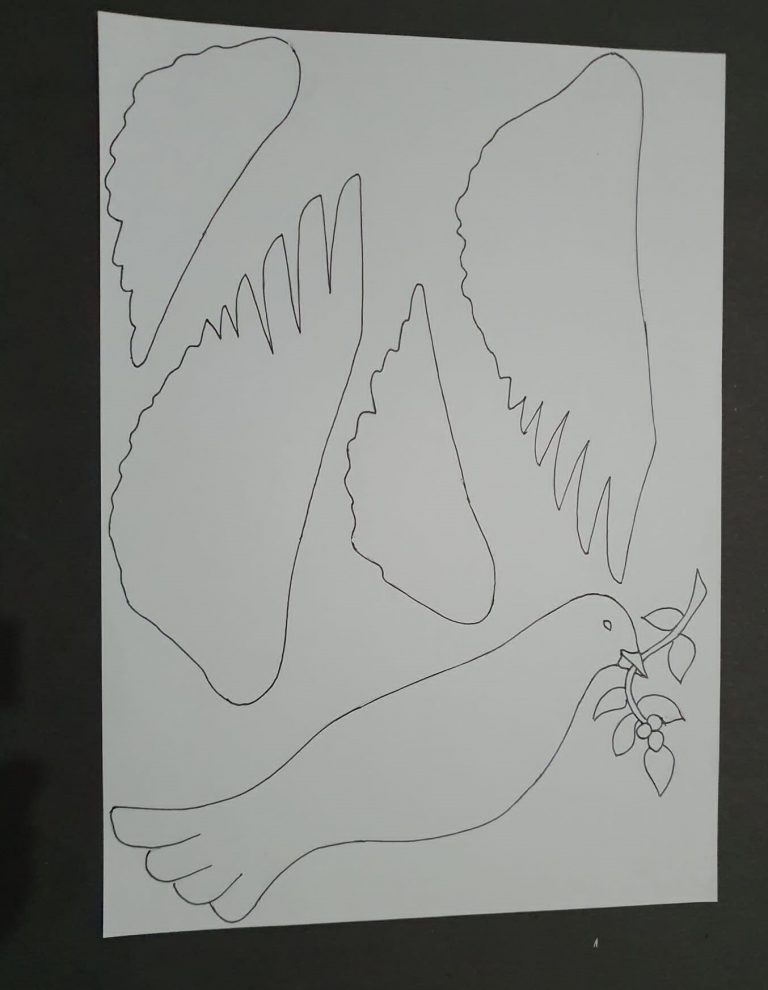
10. Colour both sides and cut everything out. If you have layers then glue the layers to make your dove wings. Once your wings are ready glue them on to the dove body. Make sure you glue the bottom only so you can see the different layers.
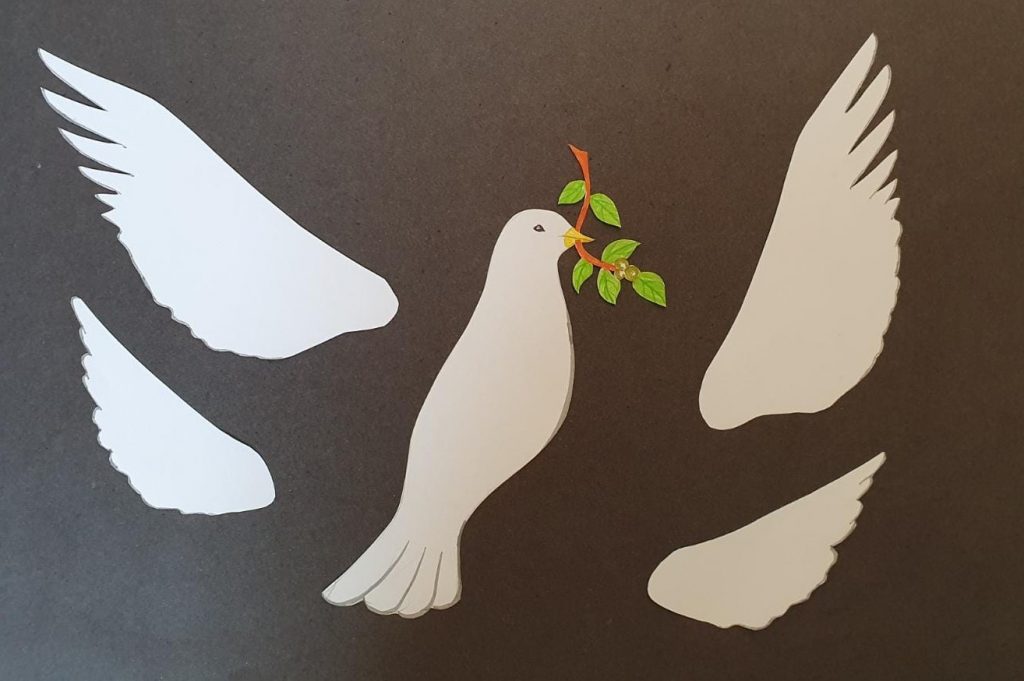

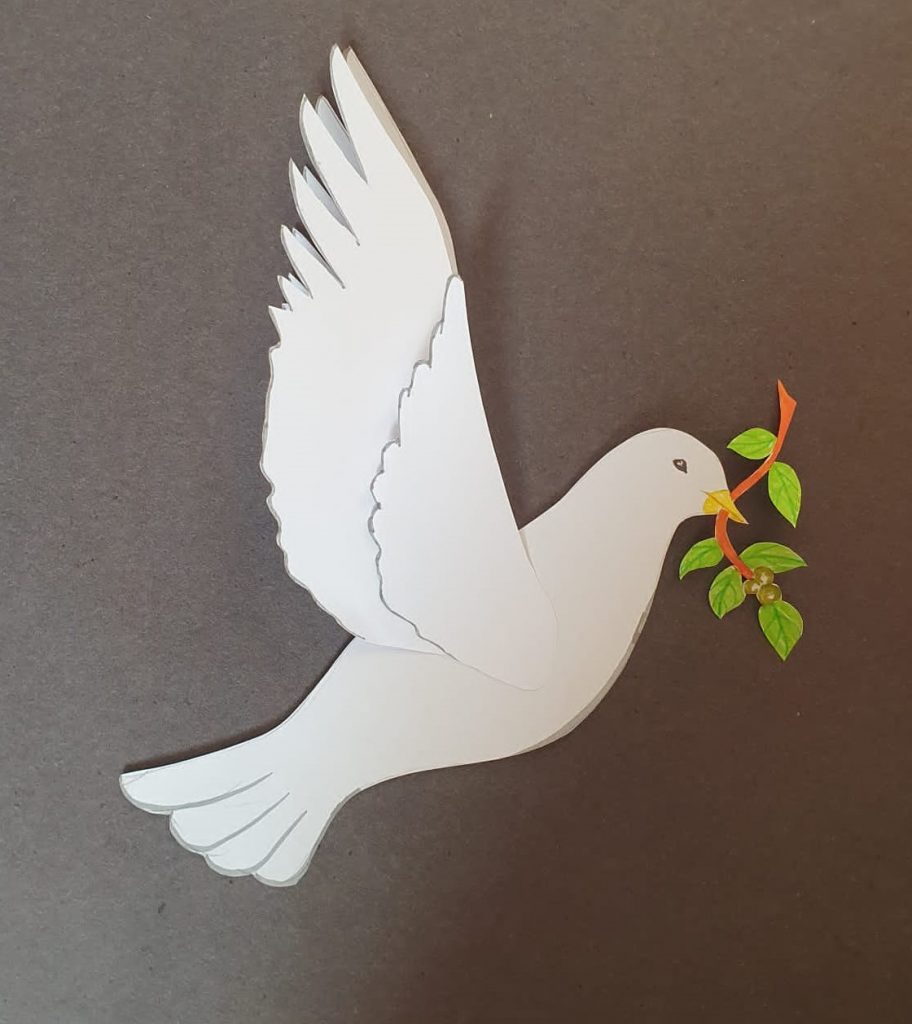
Step 5- Arranging the flames and Dove on Headdress
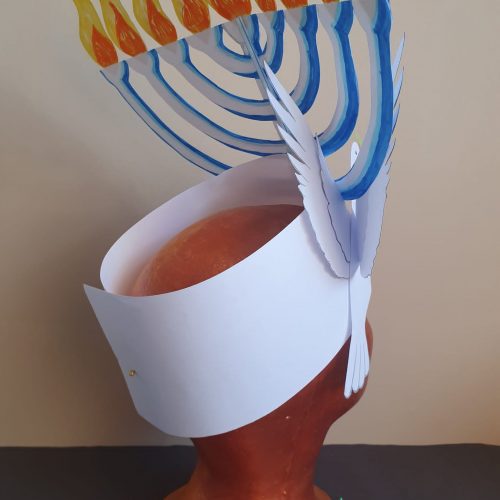
11. Get your headband and the Menorah. On the back of the Menorah tape a straw in the centre starting from the bottom to top. This will act as a support to keep the Menorah standing up.
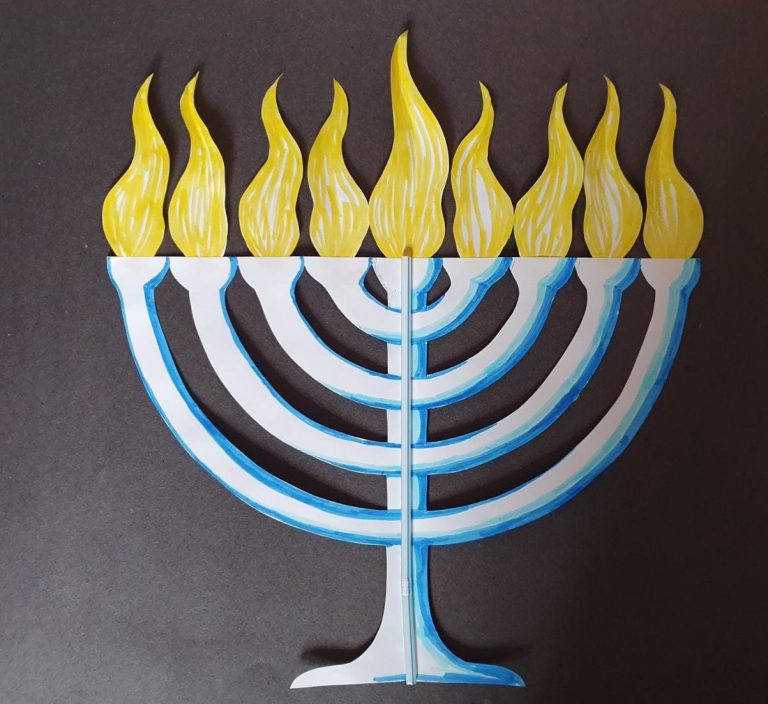
12. Glue the Menorah on to the center of the headband. Make sure the bottom of the Menorah is in line with the bottom of the headband.
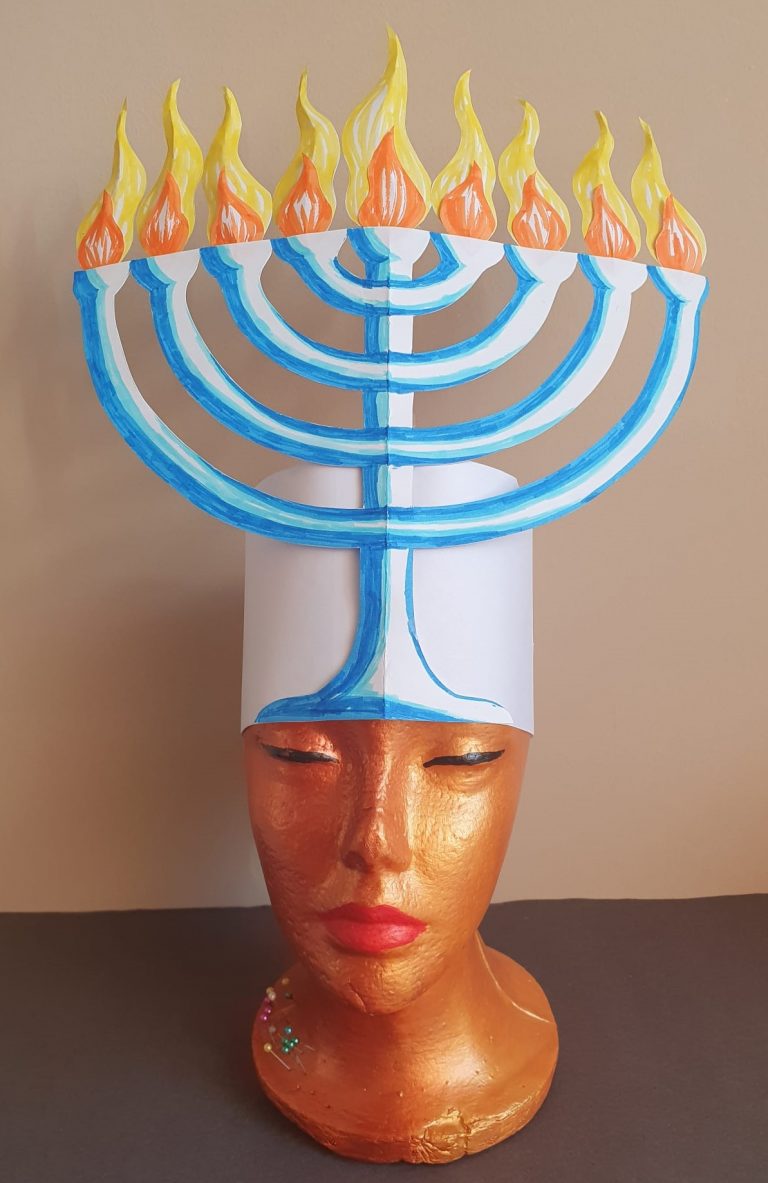
13. Glue the dove on the left hand side of the Menorah. Position it so the dove’s head and chest is coming out of the headband and the back wing is behind the Menorah and the front wing is in front of the Menorah.
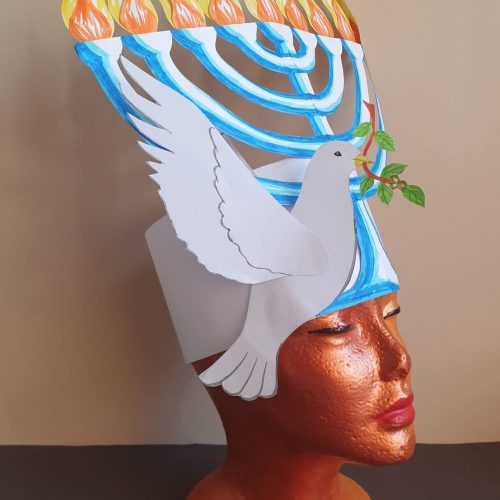
14. Glue the Stars you made on the right side of the headband. You can position them anyway you like making sure you do not cover the eyes.
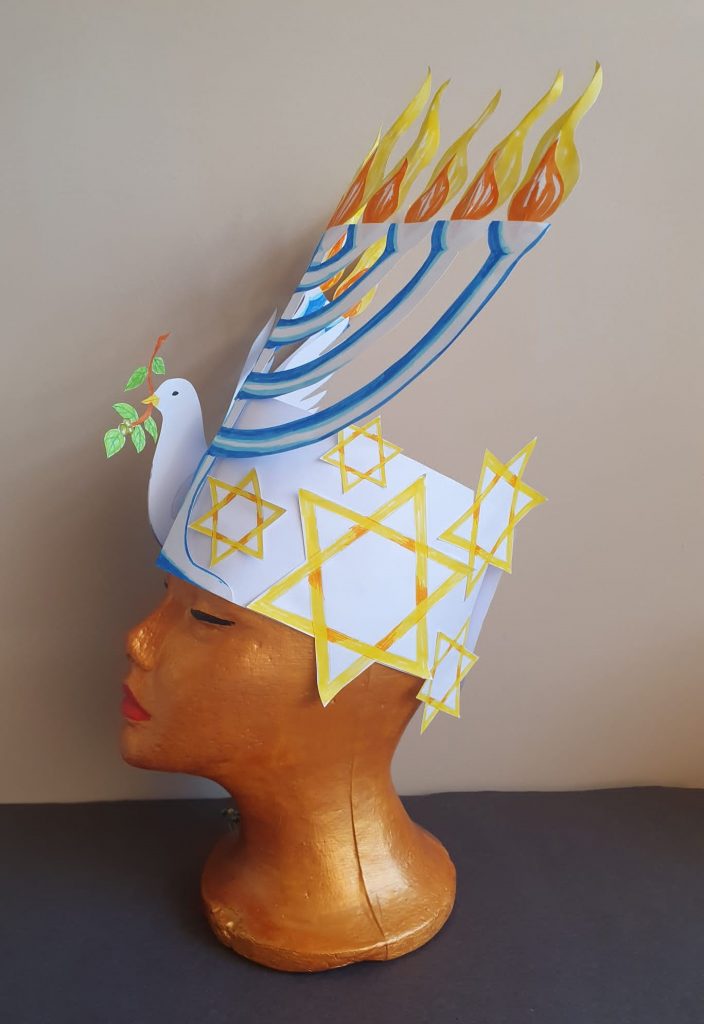
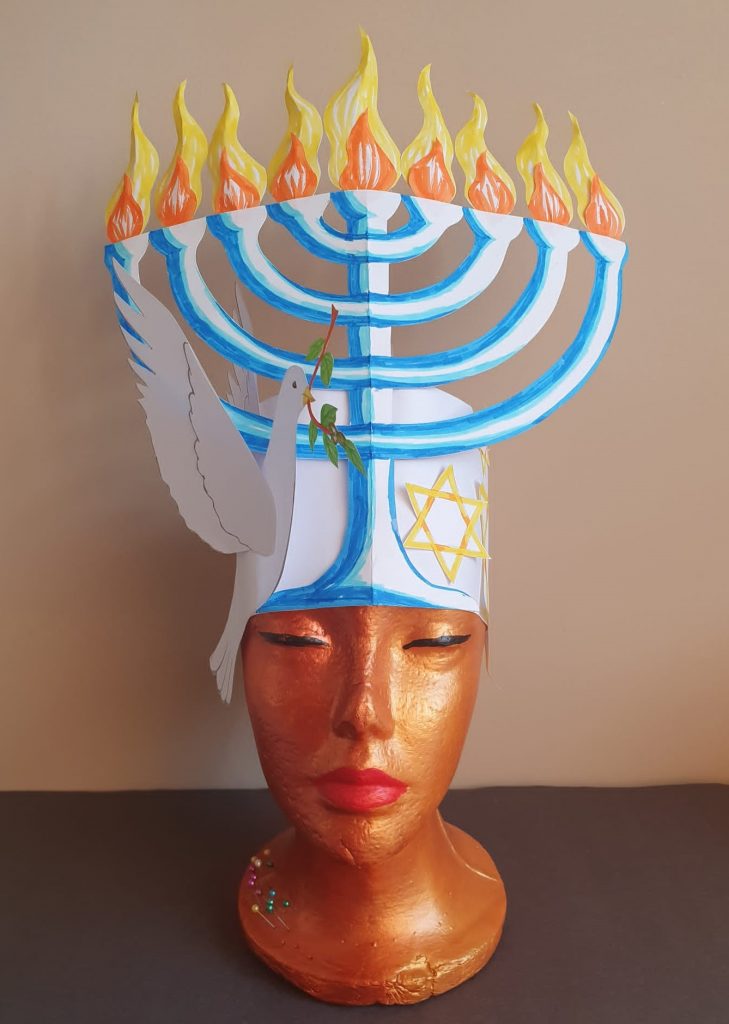
Well done
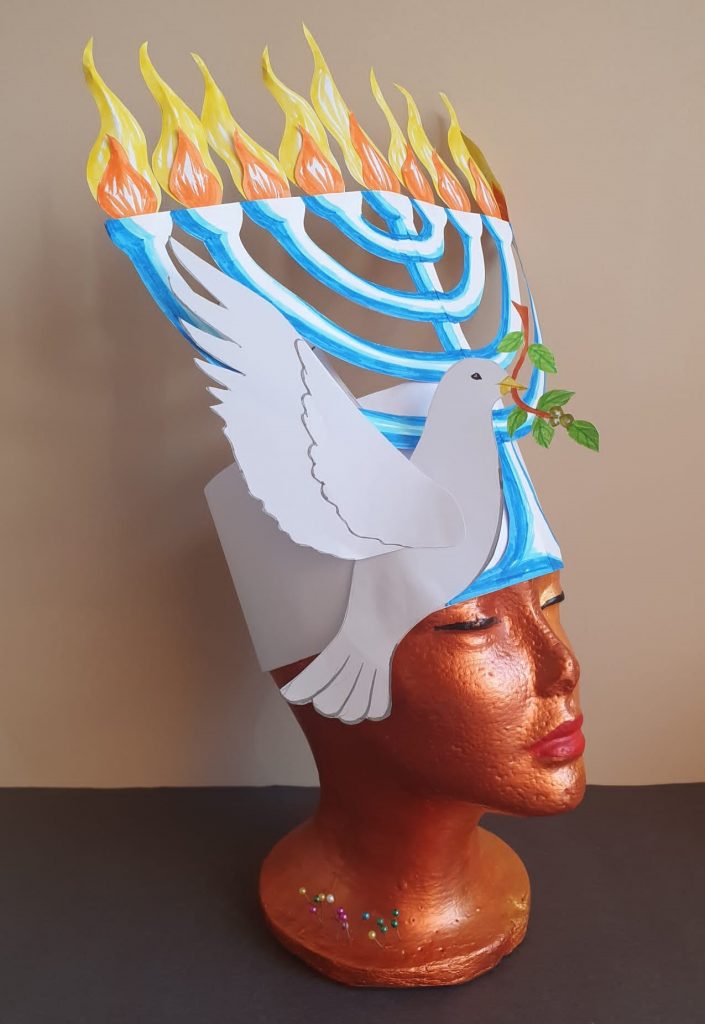

Well done!! You now have a Hanukkah hat.
You can add glitter, shiny paper or gems to make it twinkle.


